Showing posts with label thrifted. Show all posts

Sunday, March 31, 2013

What I Wore: A Pastel Sunday

Hey guys! Happy Sunday! Or Happy Easter! Whatever you celebrate :)
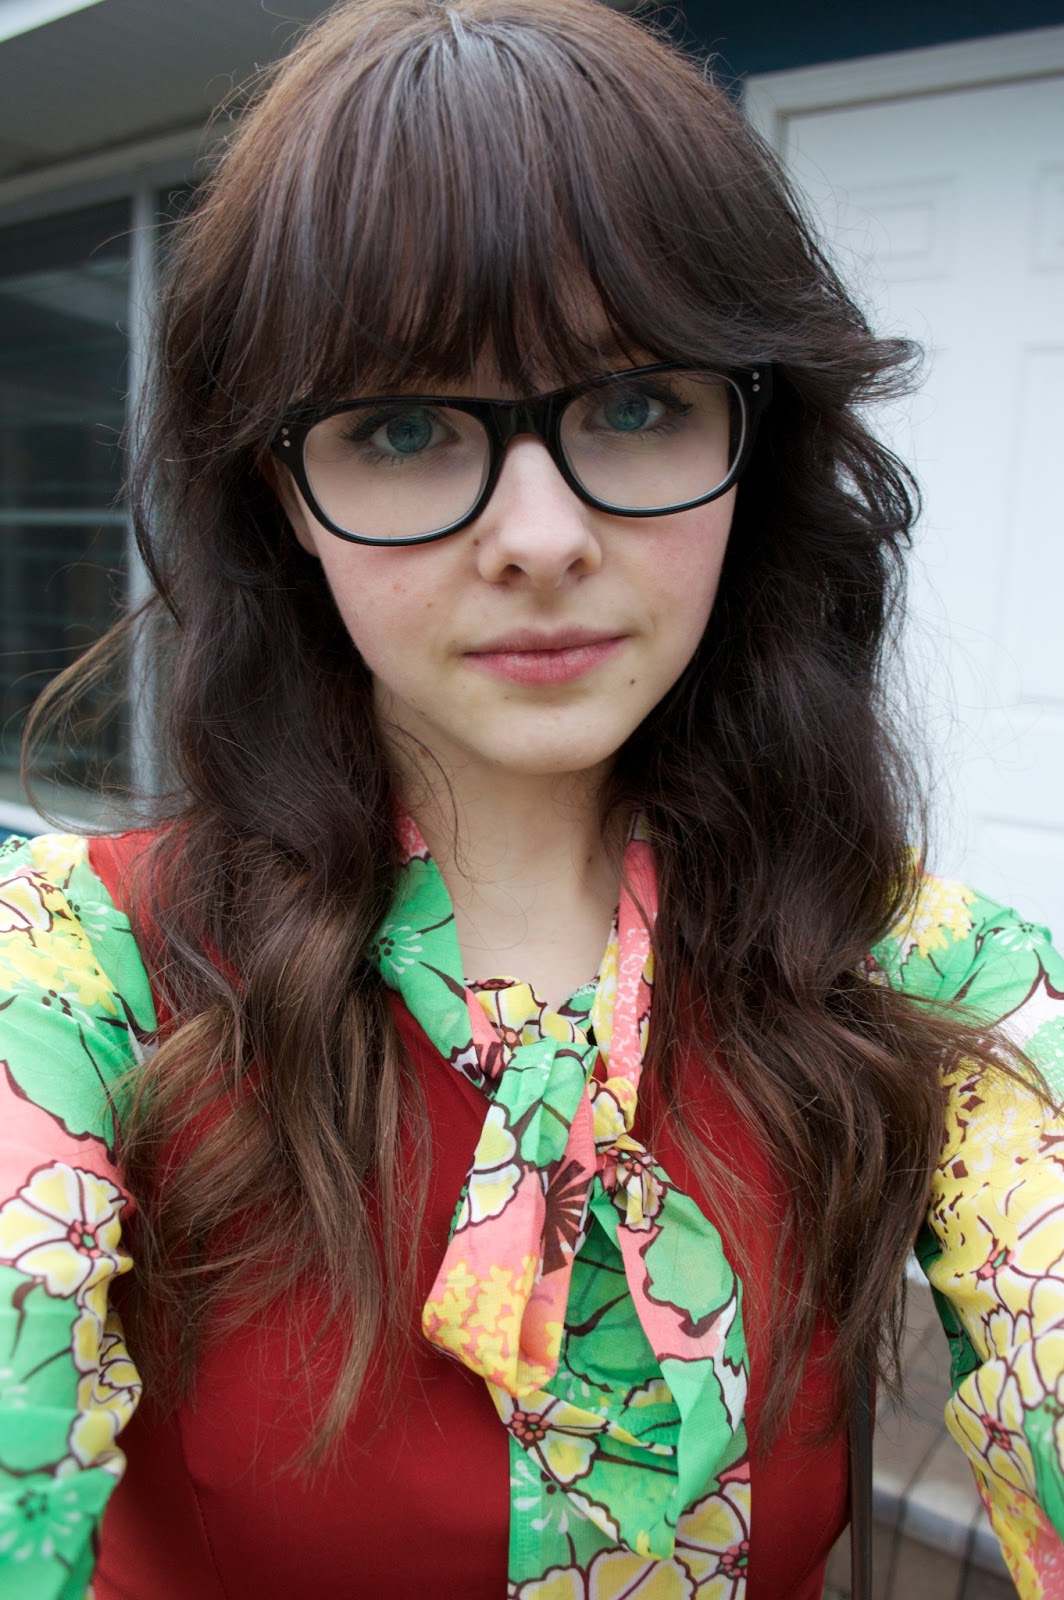
I thought I would share with you my outfit for today. Now before you freak out and go WHAT HAPPENED TO YOUR HAIR, let me share with you a little story! Yay story time! So, I've been thinking about changing my hair for a while. I've had brown hair with bangs for about a year and a half now, and I was bored. So, being the hair-dye addict that I am, I decided to change it up. I've been wanting blonde hair for SUCH a long time, and I decided to go for it...except it came out red.

I'm not sure how I feel about the red right now. I may keep it for a week or so--enough time to let my hair recuperate before I go blonde. Regardless, at least it doesn't look awful.

Because I just got back from vacation, my family and I aren't doing anything special for Easter. But, because I felt it necessary, I decided to dress in a pale pastel pink in the spirit of spring.


Dress: Forever 21
Purse: Thrifted--Goodwill Clearance Center
Shoes: Thrifted--Salvation Army
Bow: American Apparel

What do you think? Should I go blonde, or keep it red?
-Megan
xx

Tuesday, January 29, 2013

Groovy, Baby.

Hey guys!
Long time no see.
I have come to you with not one but two outfit of the days! How exciting!
*yay Megan you're the best*
Anyway, the first one I want to show you is a school girl inspired outfit, and the second is 70s inspired.
I just want to point out the ridiculous weather patterns of Chicago, first.
This was on Sunday: (10 degrees)


And this was yesterday: (50 degrees)
Dress from Modcloth.

Shoes are thrifted, socks are American Apparel.


The last of the snow.
Shirt thrifted.


Belt off of a dress from Pinupgirlclothing.com

Purse thrifted.

And this was today: (60 degrees)
Shirt from Modcloth.


Shoes from Madden Girl.

Gladiator ring from Modcloth, thumb ring from a Flea Market.


Dress from Modcloth.

Belt from Forever 21.

Ring from a Flea Market.

Me dancing to Françoise Hardy and eating my avocado wrap after it started raining. xD

Rain commences. 

Lucky me, all of this rain will turn to ice when it's 9 degrees tomorrow (as a high)
YAY CHICAGO!
Have a lovely day my friends.
xx
-Megan


Tuesday, November 13, 2012

DIY Floral Crown


Well, I stayed home from school sick today so I decided to post another DIY!
This time it's for those floral crowns that everyone seems to be wearing.
I personally love the look of these headbands, even though some find them a little overbearing.


Materials:
1. Flowers of your choice, at least 5 recommended with metal stems
2. Any old headband
3. Scissors/pliers and floral tape

For your flowers you have complete freedom in what you want to add. I went with sunflowers because they are my favorite flower. If I were to make another crown, I would probably mix it up more and probably add smaller things like leaves and what not.
I found my headband at my local thrift store for 50 cents, so I recommend looking at thrift stores or dollar stores for the headbands. They begin to get a little pricier at drugstores.
The flowers and tape were both found at Michaels. The flowers were 3 dollars for the whole bunch, which is a steal because fake flowers can get a little expensive. After going to Michaels  I went to the same thrift store I found the headband at and found 3 buckets full of fake flowers for a tenth of the price at Michaels. 

Step One: Cut the Flowers


Take your pliers/scissors and start to cut where you want. I usually leave around 2 inches of the stem so I have something to tape onto the headband itself. Make sure to cut the stems all around the same length  to make sure the flowers are equally spaced. Once I cut off all of the flowers, I also harvested the leaves from each of the stems to add them to the crown later on.

Step Two: Start Taping!


Take the stem of the flower and bend it either to the right or to the left (it doesn't matter, but make sure you bend all of the stems the same way.) Once you've bent the stem, hold it onto the headband, take a long piece of floral tape and start taping. I usually start at the base of the flower and just wrap it around covering the entire stem of the flower. Once you have one flower taped, start adding even more! 

This is a failed attempt at me trying to show
you what the taping process looks like!
Step Three: Check for Any Loose Flowers


If there are any loose flowers or exposed stems, just go through with the tape and cover them all up. Make sure the flowers are secure so they don't fall off, but also make sure that they're a little loose so they can be adjusted throughout the day.

Before the added leaves


Step Four: Add Any Other Details

With the added leaves

For me, I just added in three of the leaves I took from the original stems of the flowers. I just kind of shoved them in there and added a little bit of tape. I like the extra details because they break up the monotone-ness of the headband and cover up the gaps.

Step Five: Put it on and Bask in Your Craftiness 
Filters optional!
This is what my finished headband looks like! I would pair it with this burnt-orange dress for a very autumn feeling outfit. I'd love to see what your crown looks like! If you make one email me a picture at thefoxinater@gmail.com :)

www.youtube.com/foxinater
www.chictopia.com/foxinater
Instagram: foxinater

-M

Sunday, November 11, 2012

DIY No Sew Detachable Collar

Hello hello hello!
I come to you today with a fabulous DIY.
Like the collar trend? Hate the bulkiness of button ups?
Well do I have good news for you!
I am going to show you how to make a collar without the shirt!
The best part?
No sewing involved.

Let's get started!


First and foremost, clear off an empty workspace.
I was limited by the fact that I needed somewhere with natural light, and it was quite dull out today. 
Instead of a table or the floor I did it on a bookshelf, which I advise against.
On the left I have a chest full of little doo-dads and craft stuff and next to that I have a jar full of paintbrushes.
On the right is just a jar full of buttons and random items and (of course) my phone.


Just an old shirt will suffice. 
Next, select the shirt you are going to use.
It can be any old button up shirt, as long as it buttons all of the way up to the collar. The collar can be anything you want it to be. Yellow, red, green, etc. Mine is white because It's what I had available to me.
This shirt is just one of my mom's old work shirts that got a little stained and tatty. The collar was in great condition, so I decided to use this. 


Lay your shirt out on the flat surface, making sure that the collar is completely straight.
It helps if some of the buttons are left done on the bottom so the shirt isn't falling all over the place.


Cut just underneath the seam between the collar and the shirt.
Make sure not to cut the actual collar. 
You want the seam on the collar itself to be as intact as possible. (It looks much better this way!)
Continue to cut just below the seam until the collar is no longer attached to the shirt. 


Then, gather your supplies.
You can apply almost ANYTHING to one of these collars and it look great.
This is all about customization and self expression, so you can do what you like to the collar.
I personally love the look of water color on fabric, so that's exactly what I did.
I gathered water color, paintbrushes, a black marker, and a cup of water.
Now comes the fun.

Start decorating! In my case that was painting. 
In your case, you can do whatever you want.
You can add sequins, buttons, brooches, anything. 
I painted the ends of my collar red and had it gradient up the collar and in the middle I painted it black.

I used a black marker.

To add a little bit more of a personal touch, I also drew little, black cat faces on the ends of the collar. :3I chose cat faces but you draw/paint literally anything on the ends of the collar. 

The finished product!
And it's done!
In the end you're left with an adorable accessory that can change up an outfit so easily. 
This can also be done with other shaped collars, such as peter pan collars.

Shirt-Thrifted Dress-Charlotte Russe
Belt-Forever 21 Collar-DIY
This is how I would wear my collar. Does it give you any ideas?

Till next time!
-M

Tuesday, November 6, 2012

This Fall.

To me, fall has officially ended.
In my world it is now the winter.
...even though it's not snowing yet.
Regardless, a great season has ended, and another has started up. ^_^
I love the winter/fall time of year. It is easily the best time of the year.
Taken with an expired disposable camera.
So, I bring to you another installment of my life in photos.

Wednesday Addams for Hallowe'en. Awe yeah.

Ran into the Doctor at the Renaissance Faire. 

Another Disposable camera picture.

Anyone recognize this? No?
I would just like to say that I am so proud of this. It's a Big Daddy from Bioshock that I carved into a pumpki


Rockin' the middle part.


M'wahh!
Toodles!
-M