Well, I stayed home from school sick today so I decided to post another DIY!
This time it's for those floral crowns that everyone seems to be wearing.
I personally love the look of these headbands, even though some find them a little overbearing.
Materials:
1. Flowers of your choice, at least 5 recommended with metal stems
2. Any old headband
3. Scissors/pliers and floral tape
For your flowers you have complete freedom in what you want to add. I went with sunflowers because they are my favorite flower. If I were to make another crown, I would probably mix it up more and probably add smaller things like leaves and what not.
I found my headband at my local thrift store for 50 cents, so I recommend looking at thrift stores or dollar stores for the headbands. They begin to get a little pricier at drugstores.
The flowers and tape were both found at Michaels. The flowers were 3 dollars for the whole bunch, which is a steal because fake flowers can get a little expensive. After going to Michaels I went to the same thrift store I found the headband at and found 3 buckets full of fake flowers for a tenth of the price at Michaels.
Step One: Cut the Flowers
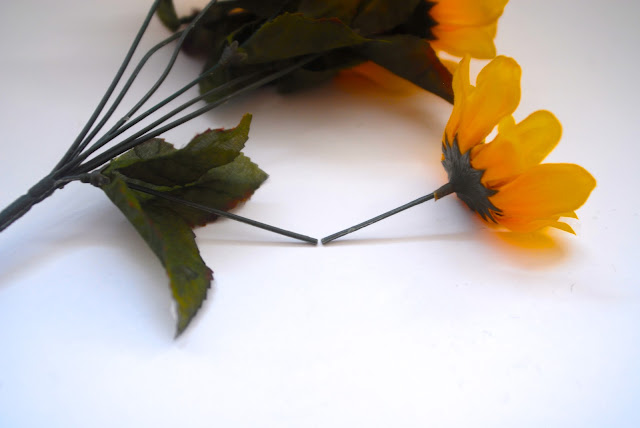
Take your pliers/scissors and start to cut where you want. I usually leave around 2 inches of the stem so I have something to tape onto the headband itself. Make sure to cut the stems all around the same length to make sure the flowers are equally spaced. Once I cut off all of the flowers, I also harvested the leaves from each of the stems to add them to the crown later on.
Step Two: Start Taping!
 |
| This is a failed attempt at me trying to show you what the taping process looks like! |
 |
| Before the added leaves |
Step Four: Add Any Other Details
 |
| With the added leaves |
Step Five: Put it on and Bask in Your Craftiness
 |
| Filters optional! |
www.youtube.com/foxinater
www.chictopia.com/foxinater
Instagram: foxinater
-M


so awesome and helpful:3 and you are so pretty meggs!
ReplyDelete<3 nicole
Bianca and I always told you that you had a style of your own!<3 miss you
ReplyDelete